Apitor Educational Robot
Chapter 6 The Home Screen
Chapter 6.1 Introduction
The screen allows you to get acquainted with the robot without programming it. In fact, you don’t even have to build every structure. All you need to do is attach 2 wheels and possibly 2 distance sensors to the Main Central Unit as a simple “replacement” toy.
Now you can check how it reacts to commands issued from the mobile phone.
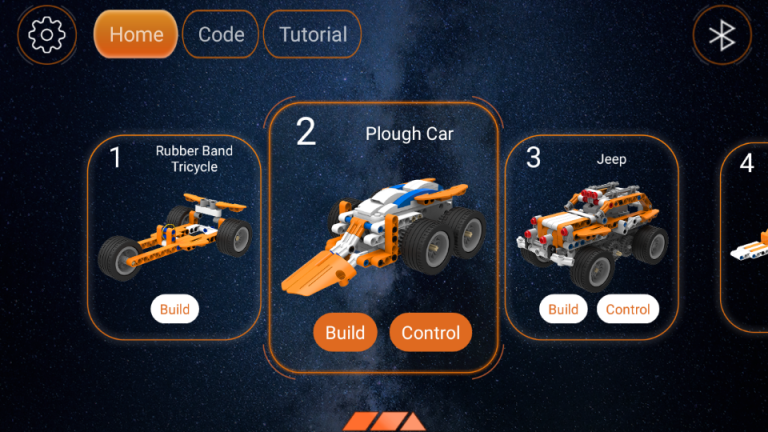
Fig. 6-1
Click Start and select, for example, the Plow structure
Chapter 6.2 Structure assembly
In the window above, click Build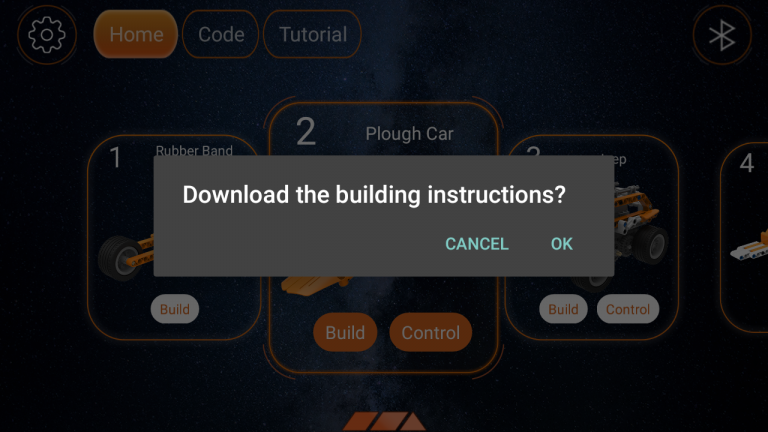
Fig. 6-2
Click OK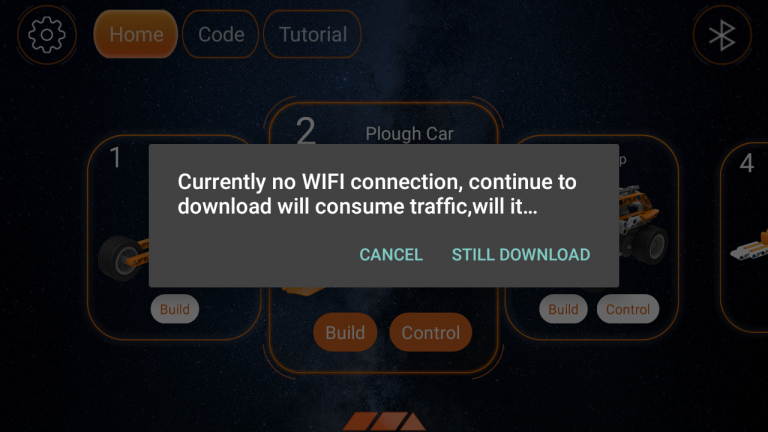
Fig. 6-3
You can pay for streaming if you are not using a Wi-Fi connection. If you have made up your mind, click OK
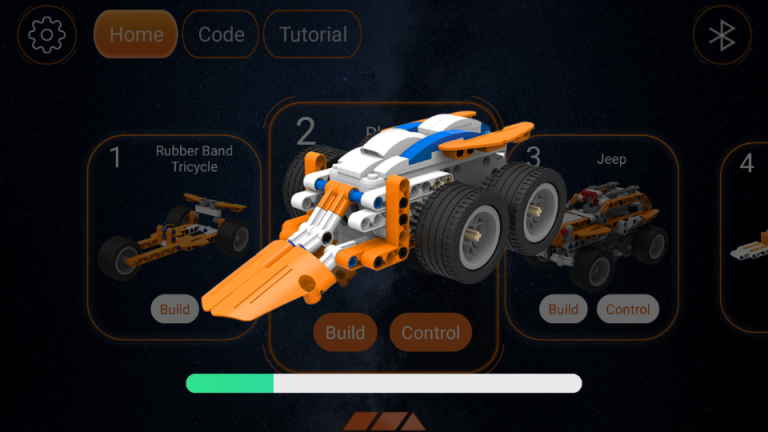
Rys. 6-4
Manual loading process.
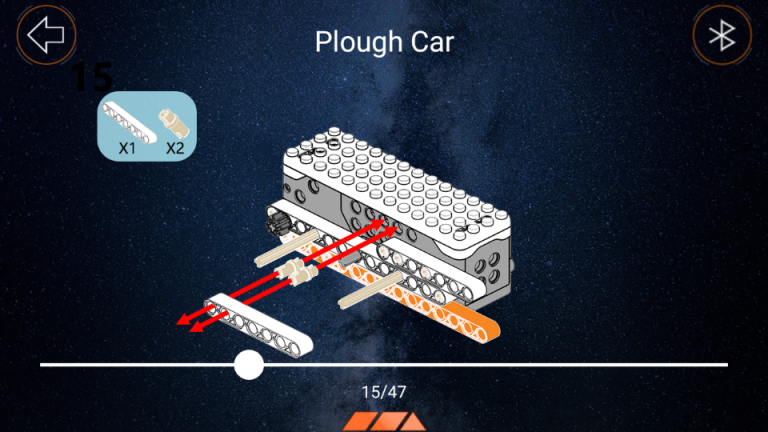
Fig. 6-5
The next stages of construction. Possibility to move with a ruler.
Once construction is complete, click the top left arrow.
Chapter 6.3 Toy Control

Fig. 6-6
Click Control
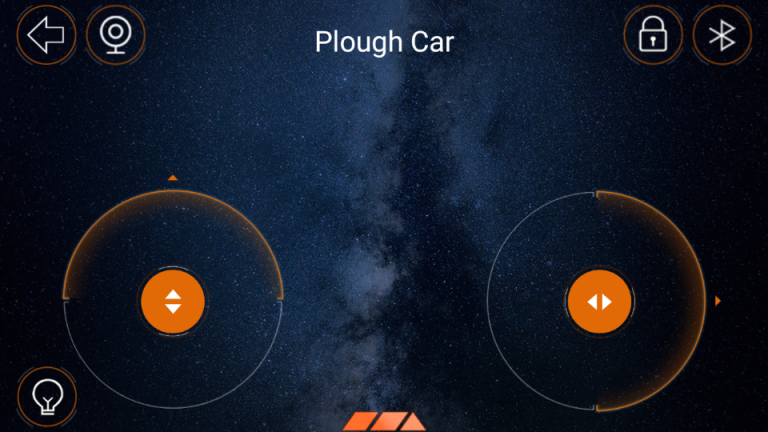
Fig. 6-7
You can control the plow with these keys
Note
You don’t have to build a plow to control it. All you need is a “bare” block!