Apitor Educational Robot
Chapter 5 Code Screen
Chapter 5.1 Introduction
You use the Tutorial Screen mainly in the first days after purchasing the robot and it is used for initial programming learning. However, your daily bread will be Code Screen
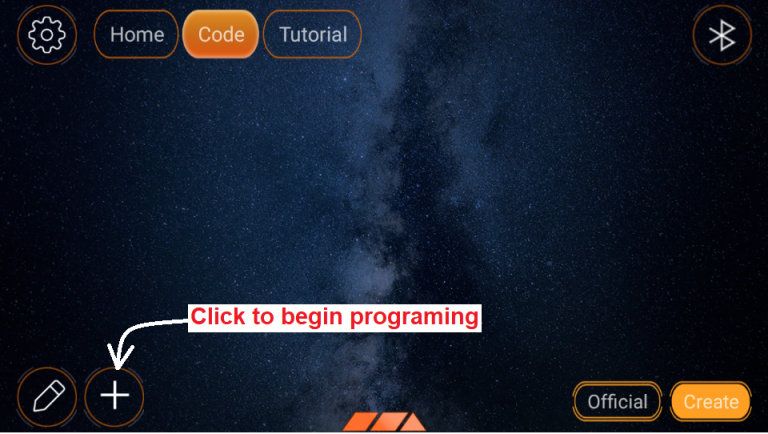
Fig. 5-1
Code screen
It has 2 icons in the lower right corner.
Create – Creating your own programs –> Chapter 5.2
Official – Ready-made programs written by the manufacturer for the proposed structures –> Chapter 5.3
Here you have selected the Create icon.
If you have not created any programs before, the screen will be blank as above.
If you have created any programs before, you will see a list of them. For example, in Fig. 5-8, the list contains only 1 program named “First”
Click the + sign to start programming.
Chapter 5.2 Creating your own programs
Chapter 5.2.1 Creating your “First” program 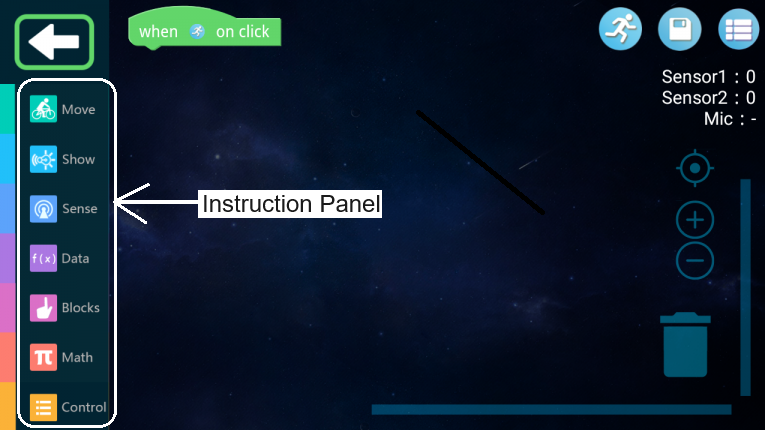
Fig. 5-2
The start of your own program
The first instruction always appears automatically. You can download the rest from the instructions panel and build any program from them. You know how to do it after reading Chapter 4. Training Screen.
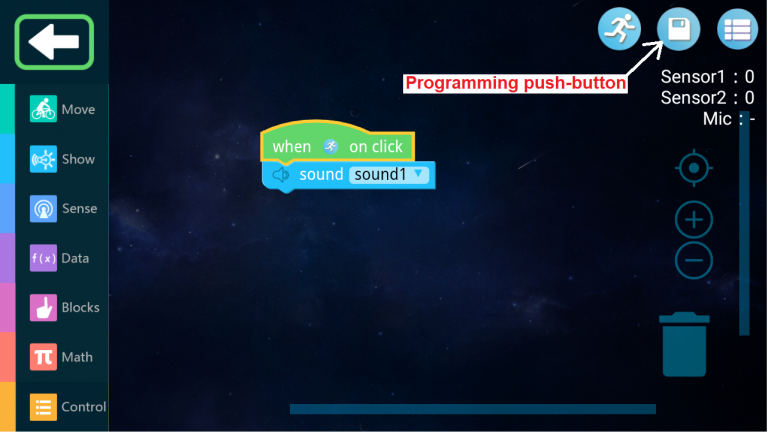
Fig. 5-3
First program
It is not too complicated because it consists of only 2 instructions. Of course, you downloaded the sound instruction from from the Instruction Panel. You can check the operation of the program by clicking on the blue runner. You will hear a distinctive single sound.
Save the program by clicking the “Programming push button”.
Chapter 5.2.2 Saving the program
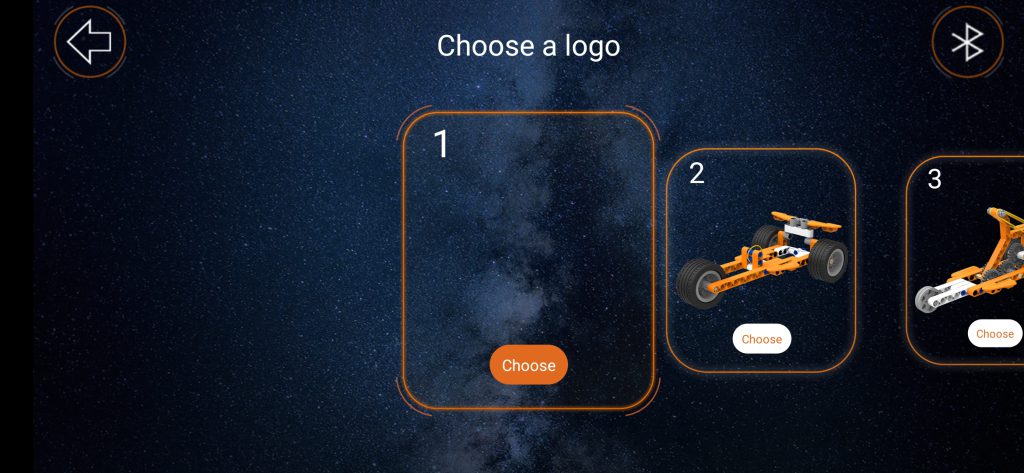
Fig. 5-4
Click the Choose button
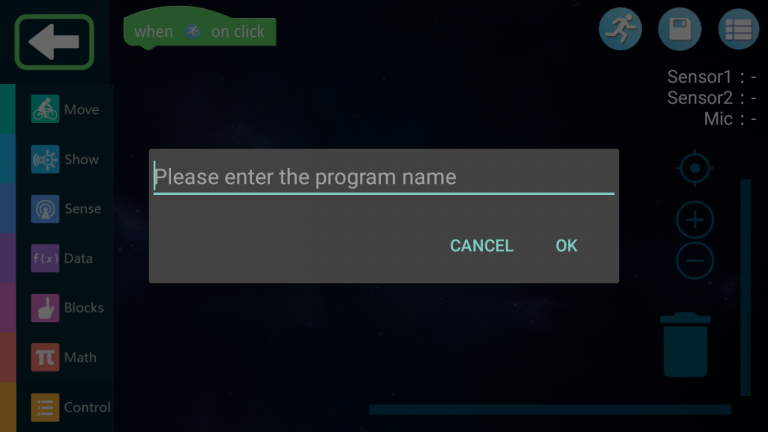
Fig. 5-5
Enter the name of the program, e.g. First
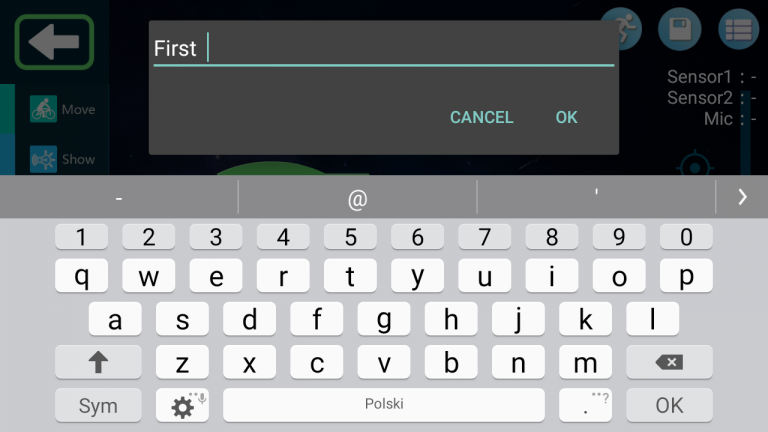
Fig. 5-6
and click OK.
The text “Saved successfully!” will appear.
The program has been saved and the screen below will appear. Here you can create a new program.
Chapter 5.2.3 Has the program been saved?
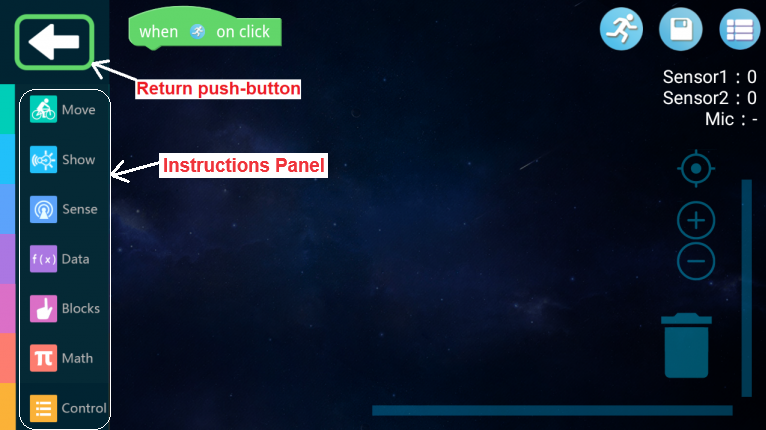
Fig. 5-7
Since you do not intend to create a new program, click the Return button.
Chapter 5.2.3 Deleting a program
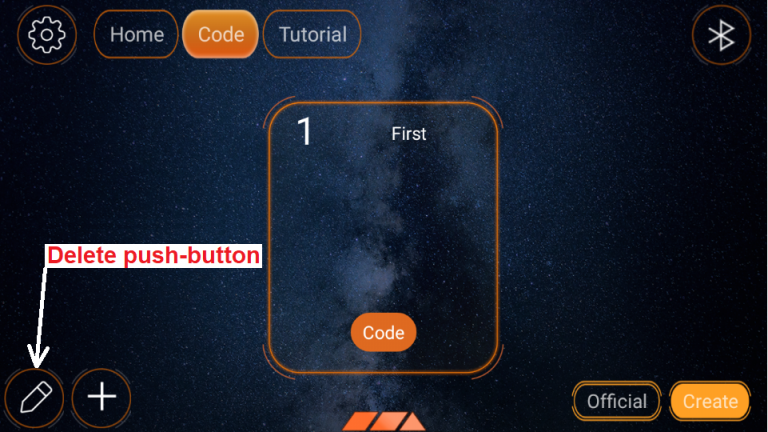
Fig. 5-8
You see the program you just saved called First. You can call it up with the Code button and, for example, modify it. You can also delete it by clicking the Delete button. This key looks like an eraser. Do it.
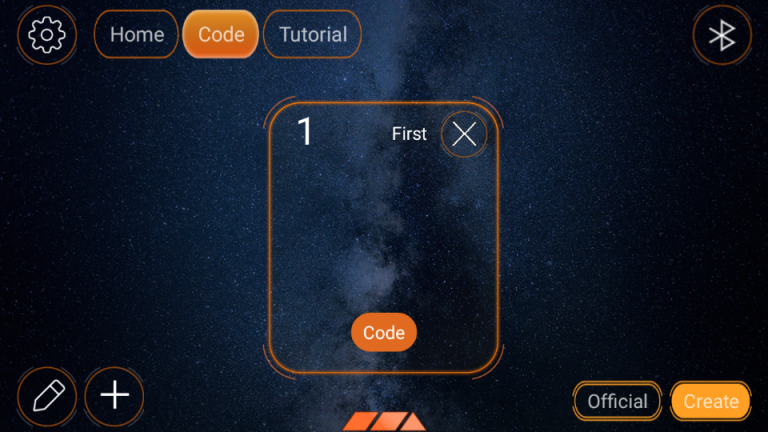
Fig. 5-9
Click on the cross next to the program name “First”.
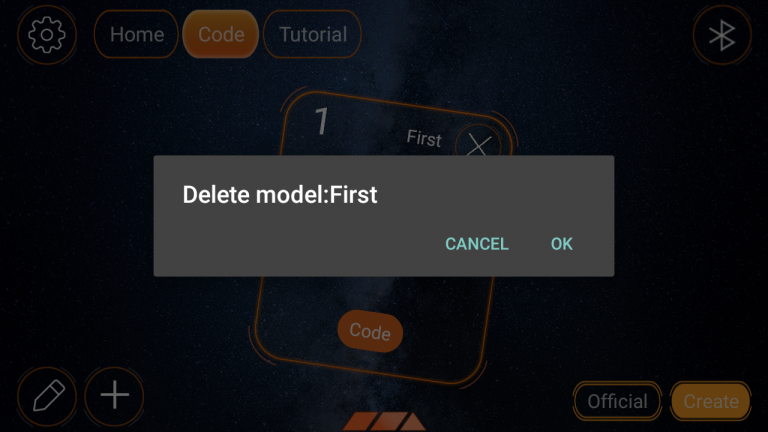
Fig. 5-10
Confirm OK
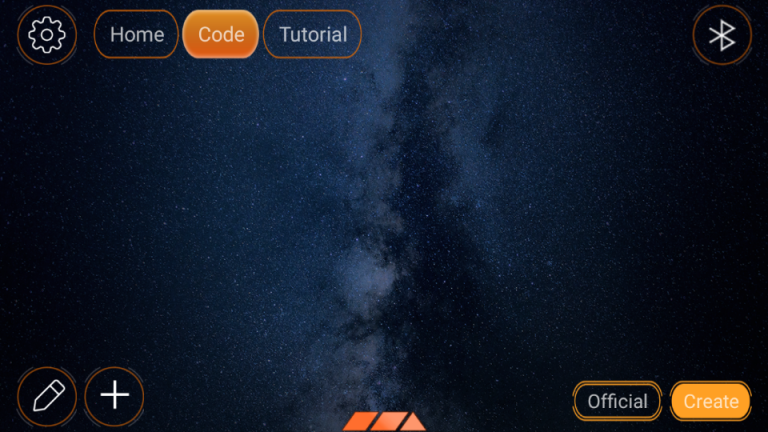
Fig. 5-11
The program has been deleted. You see a “bare” screen without programs.
Click the “Official” button and go to Chapter 5.3.
Chapter 5.3 You clicked “Ready projects”
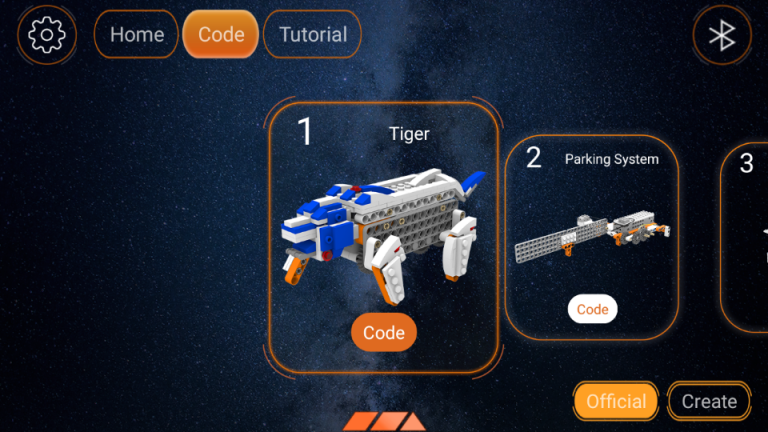
Fig. 5-12
You have 7 ready-made programs that you can watch, analyze and run. Programs will only run if their structures have all the necessary elements. For example- The Parking System has a Main Central Unit and distance sensors. Each structure whose operation you want to program must have at least a Main Central Unit.
Click the Code button in the highlighted Parking System program.
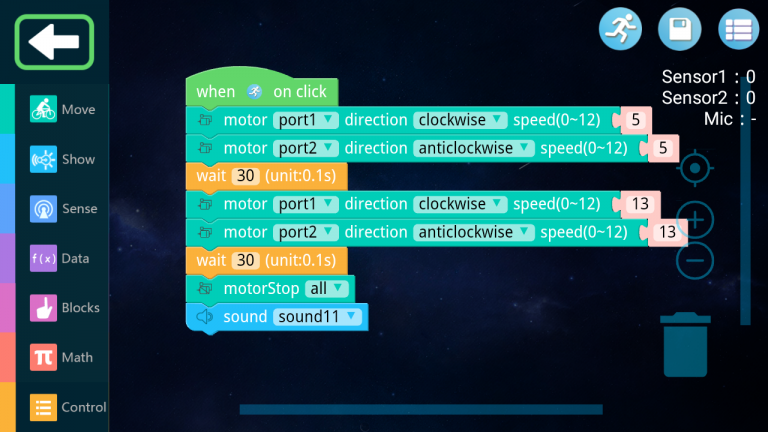
Fig. 5-13
Parking System Program. You can test and run it.